Teaching examples, not student testimonials. The sample week, model notebook, and demonstration prompts illustrate the intended learning process; they do not report an enrolled student's results. Current program status and next steps.
Look inside the Microscopy pack.
No sign-up, no email required. Here is a sample week, a real rubric, a model lab-notebook entry, and a sample demonstration. These are the materials themselves, not a brochure. Every sample links to the full artifact it’s drawn from.
One week, two days at the microscope.
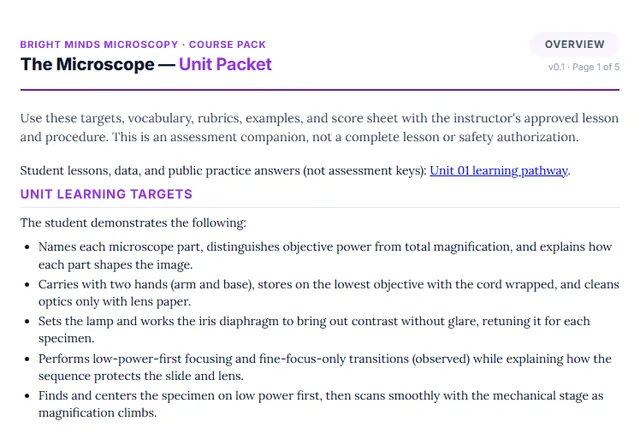
The course runs on a two-day pulse — about two hours a day, across a single semester. Here is week one of Unit 1 — the Microscope: the student learns to carry, set up, and focus a compound scope cleanly before a single specimen is measured.
- Parts of the compound scope & their jobs
- Carrying, storage & lens care
- Reading: Hooke & Leeuwenhoek
- Microscope setup & illumination
- Focus coarse-then-fine, low power first
- Center & scan with the mechanical stage
How “mastered” is actually judged.
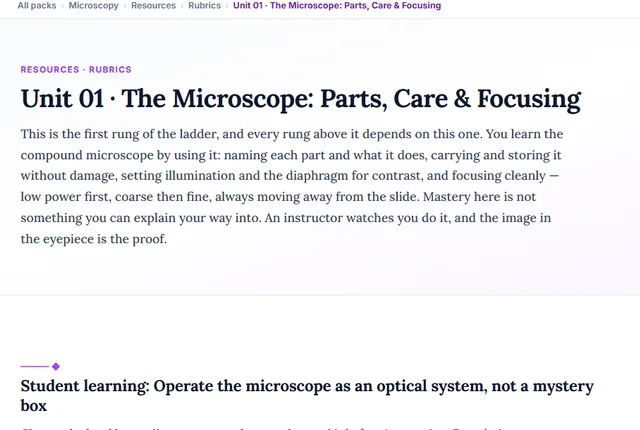
Every skill is scored at one of three levels against a published standard, without points or grading on a curve. Here is one criterion from the Unit 1 rubric: the focusing procedure, shown as a parent or guide would read it:
| Level | What it looks like — “Focus safely, coarse then fine” |
|---|---|
| Developing | Focuses down toward the slide on high power — risking a cracked slide or a scratched objective. |
| Proficient | Starts on low power but reaches for the coarse knob on high power, or racks the wrong direction. |
| Mastery | Starts on the lowest objective, focuses coarse-then-fine while moving away from the slide, then steps up through objectives on fine focus only. |
Browse the full rubric set → · How this becomes an A–F grade →
The artifact a student builds, keeps, and defends.
The lab notebook is the primary record of a student's work, written in pen at the bench and explained aloud. Here is one model Experiment Day, showing how each section is recorded. Notice the crossed-out over-stained slide and the honest sources of error.
| Field width | Cells across | Cell width |
|---|---|---|
| 1800 µm | ~24 | ~75 µm |
- Dated & titled entries
- A testable question & hypothesis
- Units on every number
- Significant figures, honestly reported
- Calculations shown, not just answers
- Written in pen during the lab; errors crossed out, not erased
- Error analysis with direction & size
The moment that can’t be faked.
Three times across the course, a student performs and defends a demonstration, standing with their own work and reasoning aloud while an adult asks unscripted follow-ups. In the specimen-prep defense, they prepare a clean wet mount or stained slide from scratch and defend every technique choice out loud.
“I peeled one epidermis layer, laid it flat so it wouldn’t fold, and lowered the coverslip at an angle to keep bubbles out. I used iodine because the walls were nearly invisible unstained — a light stain showed them without drowning the field.”
A passing answer from the specimen-prep defense — defending each technique choice from the bench, not reciting steps.
The whole pack, ready for a binder.
Everything here is available to read online. Every rubric, checklist, and guide also has a print-ready packet version, formatted 8.5×11 for a clipboard or a three-ring binder. You assemble the student’s binder from the pack itself; there’s nothing else to buy to hold it in your hands. We’ve put them all in binder order on one page: Assemble the Microscopy binder →
Seen enough to start?
The whole Microscopy pack is open to read and print. Open it and begin, or ask us a question first. A real person answers.