Teaching examples, not student testimonials. The sample week, model notebook, and demonstration prompts illustrate the intended learning process; they do not report an enrolled student's results. Current program status and next steps.
Look inside the Dissections pack.
No sign-up, no email required. Here is a sample week, a real rubric, a model lab-notebook entry, and a sample demonstration. These are the materials themselves, not a brochure. Every sample links to the full artifact it’s drawn from.
One week, two days at the tray.
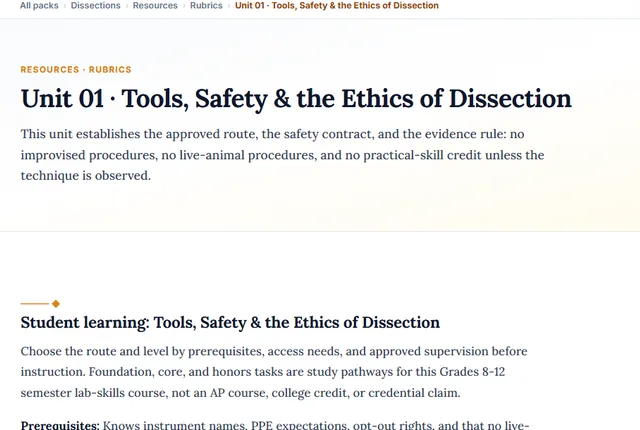
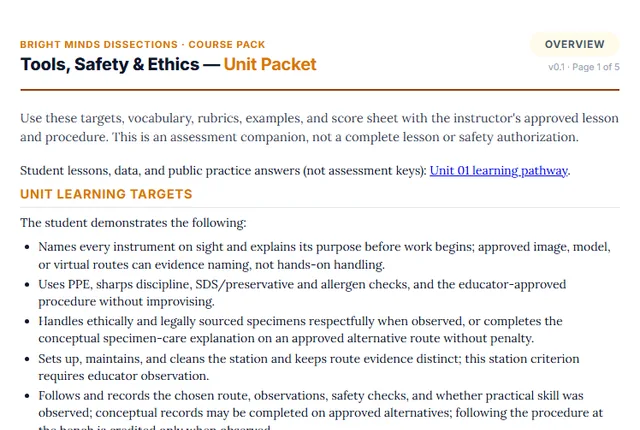
The course meets two days a week for about two hours a day, across roughly 32 weeks. Here is week one of Unit 1 — Tools, Safety & the Ethics of Dissection: the student earns the right to hold a scalpel before a single specimen is opened.
- The kit: scalpel, scissors, probes, forceps, pins
- Sharps & scalpel safety
- Specimen care & the ethics of respectful use
- Set up & maintain a clean station
- Sharps discipline: gloves, goggles, capped blades
- Controlled, shallow cutting technique
How “mastered” is actually judged.
Every skill is scored at one of three levels against a published standard, without points or grading on a curve. Here is one criterion from the Unit 1 rubric: safe handling & cutting technique, shown as a parent or guide would read it:
| Level | What it looks like — “Safe handling & cutting” |
|---|---|
| Developing | Handles the scalpel carelessly, cuts toward the hand, or works without gloves or eye protection. |
| Proficient | Cuts away from the body and wears protection when reminded, but still presses too hard or leaves sharps unguarded. |
| Mastery | Keeps sharps discipline throughout — gloves and eye protection on, cutting away from self in shallow, controlled strokes, and instruments capped and set down safely. |
Browse the full rubric set → · How this becomes an A–F grade →
The artifact a student builds, keeps, and defends.
The lab notebook isn’t busywork — it’s the primary record, drawn from the real specimen in pen at the tray and defended out loud. Here is one model Experiment Day, showing how each section is recorded. Notice the crossed-out margin note and the honest account of limits.
| Structure | Location |
|---|---|
| mouth (prostomium) | segment 1 |
| clitellum | segments 31–37 |
| setae | ventral, per segment |
| darker surface | dorsal |
- Dated & titled entries
- Draw from the specimen, not the textbook
- Every structure labeled, every label earned
- Leader lines from name to tissue
- Units on every measurement
- Pen at the tray — struck, not erased
- An honest account of what obscured the work
The moment that can’t be faked.
Three times a year, a student performs and defends a demonstration, standing with their own work and reasoning aloud while an adult asks unscripted follow-ups. In the dissection defense, they complete a clean dissection and account for every incision, technique, and identified structure on the spot.
“This is the frog’s heart — three chambers, two atria and one ventricle. I made the first incision off the ventral midline so I wouldn’t nick the heart or the abdominal vein, then pinned the body wall back to open the coelom. Tracing forward from the ventricle, this vessel is the conus arteriosus branching to the lungs and skin — that’s how a frog oxygenates both ways.”
A passing answer from the dissection defense — naming structures traced in the real specimen and justifying each cut, not reciting a diagram.
The whole pack, ready for a binder.
Everything here is available to read online. Every rubric, checklist, and guide also has a print-ready packet version, formatted 8.5×11 for a clipboard or a three-ring binder. You assemble the student’s binder from the pack itself; there’s nothing else to buy to hold it in your hands. We’ve put them all in binder order on one page: Assemble the Dissections binder →
Seen enough to start?
The whole Dissections pack is open to read and print. Open it and begin, or ask us a question first. A real person answers.