Course-pack preview. Explore the materials, then discuss subject readiness, student fit, and support with Leslie. Current program status and next steps.
Microscopy, taught at the bench.
Eight units, from focusing your first scope to drawing a specimen to scale — a hands-on technique ladder you climb one rung at a time. A student doesn't pass this course by recognizing the right answer. They pass it by demonstrating, in person, that they can actually do it — at the scope, slide in hand.
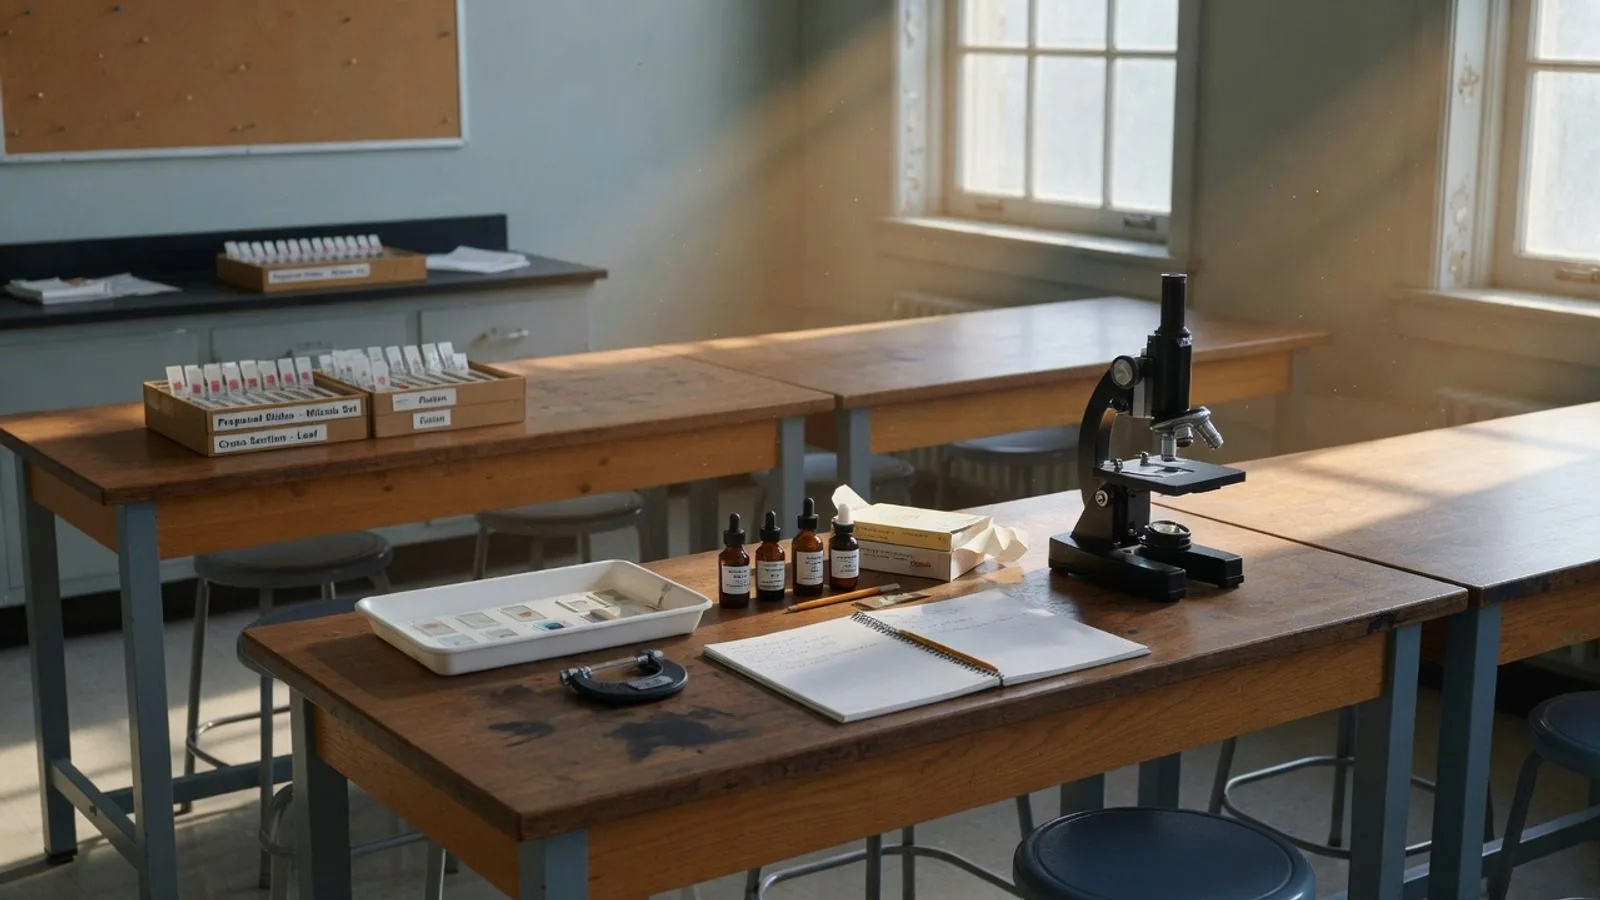
A semester of microscopy, built around what happens at the scope.
Most microscopy courses are a textbook full of diagrams with a few slides bolted on. This one is the reverse. Every week is built around a technique you perform at the bench — focusing a scope, preparing a wet mount, staining for contrast, resolving and identifying a structure — and the reading exists to support that work. That is what "skill-led, not textbook-led" means, and it is the single most important thing to understand about how this course runs.
The course is organized as a two-day rhythm: a Concept Day where the technique is introduced and demonstrated up close, and an Experiment Day where it becomes physical (set up, focused, mounted, drawn) and gets written into a real lab notebook. Between the two days, the student practices at home, and that gap is where the skill actually consolidates.
Mastery is the progression rule. A student advances through a technique when they can perform, explain, and repeat it cleanly, rather than advancing simply because a week has passed. "Developing" is the honest, expected default; "mastered" is earned and demonstrated. The rubrics are the instrument that makes that judgment fair and repeatable.
Eight units, in the order they build.
The ladder runs from carrying and focusing your first scope up to drawing a specimen to scale. Each unit has its own mastery rubric; the full sequence, with the labs and the two-day rhythm, is on the course map.
A semester at the bench, not behind a screen.
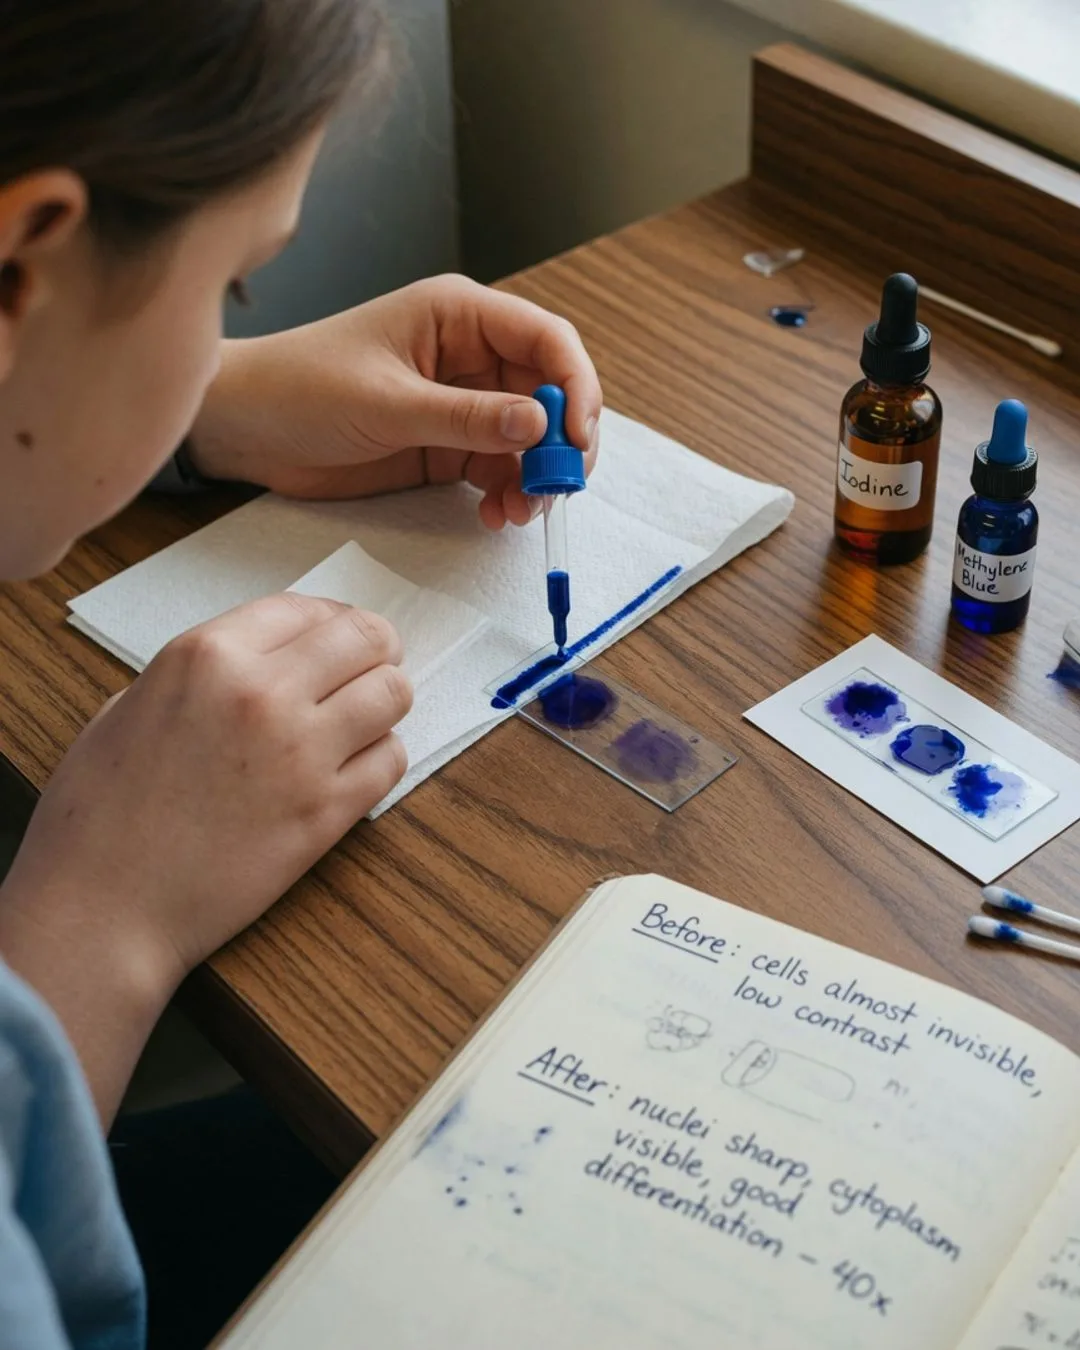
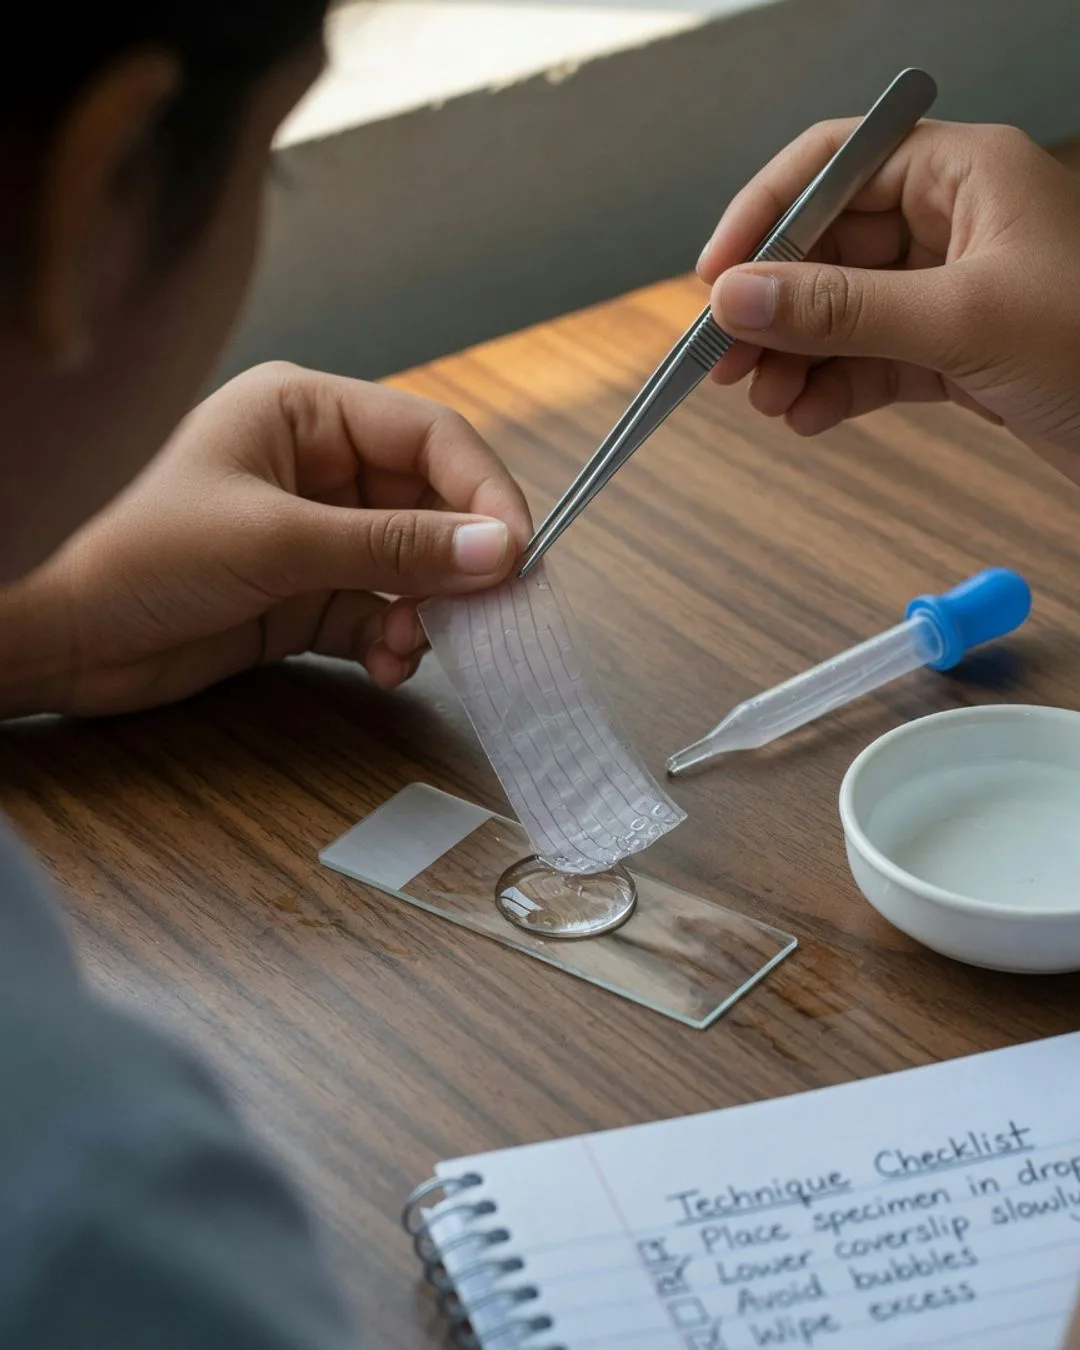
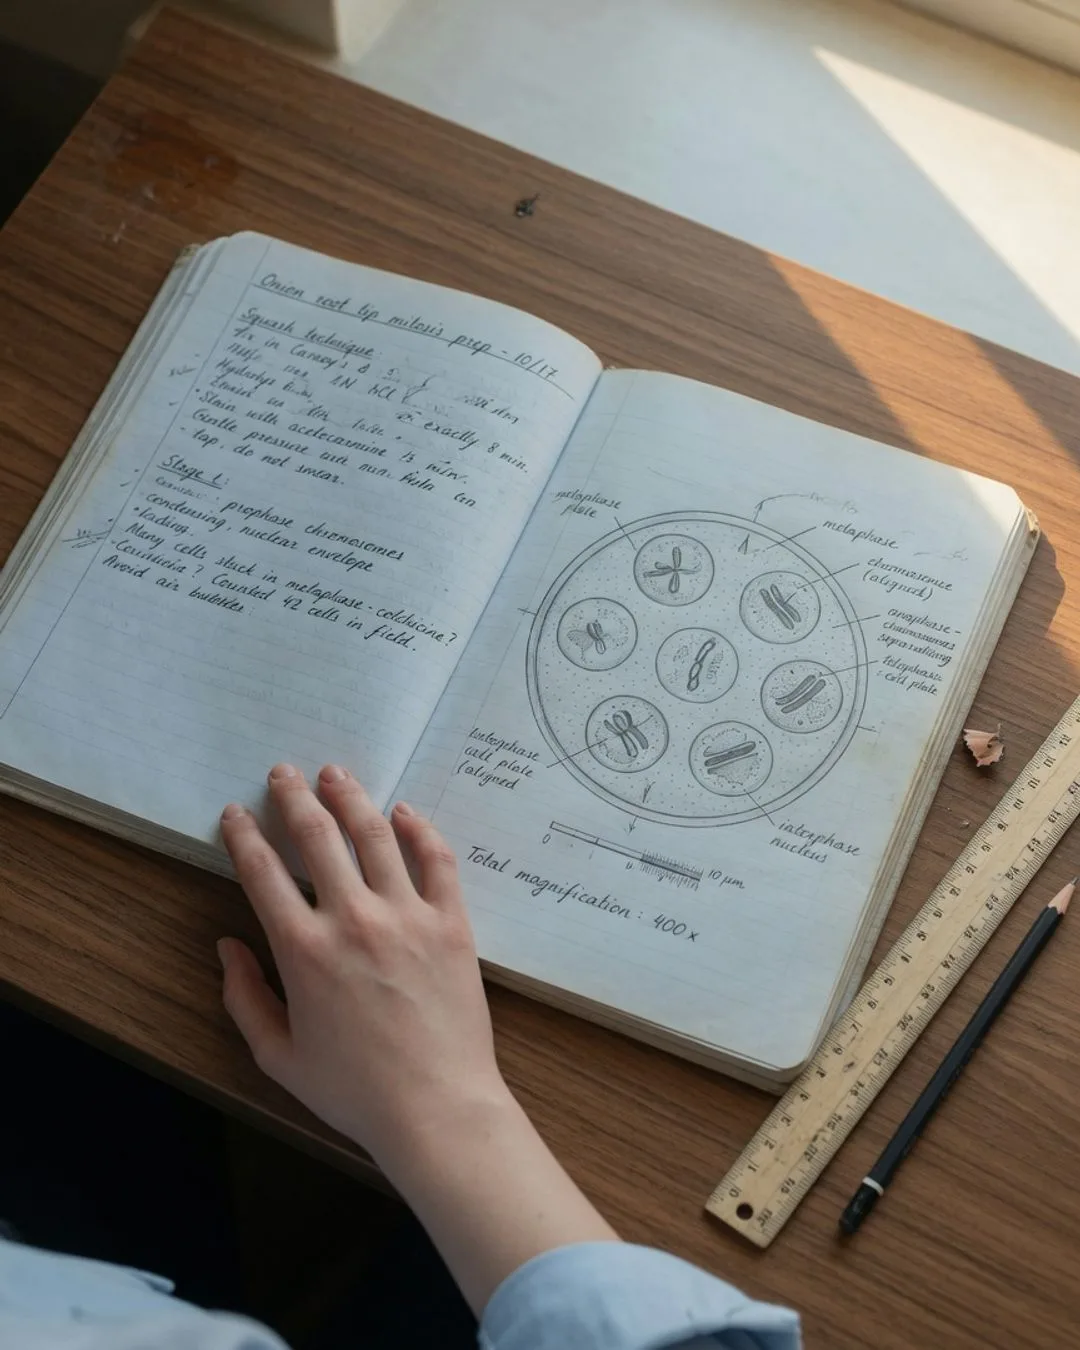
Three doors into the pack.
The course map
The full eight-unit sequence, the labs, and how the two-day rhythm plays out across the semester.
The resources
Every artifact you need to run the course: rubrics, study system, pre-lab checklist, AI-use guide, and more.
The lab notes
Six short essays on why microscopy is taught this way, with the reasoning explained in plain language.